High brightness projectors are popular because they deliver clear images even in bright spaces. Whether in a meeting room, classroom, or bright living room, they ensure you see every detail. This article explores the features and benefits of high brightness projectors to help you make an informed decision.
Features and Advantages of High Brightness Projectors
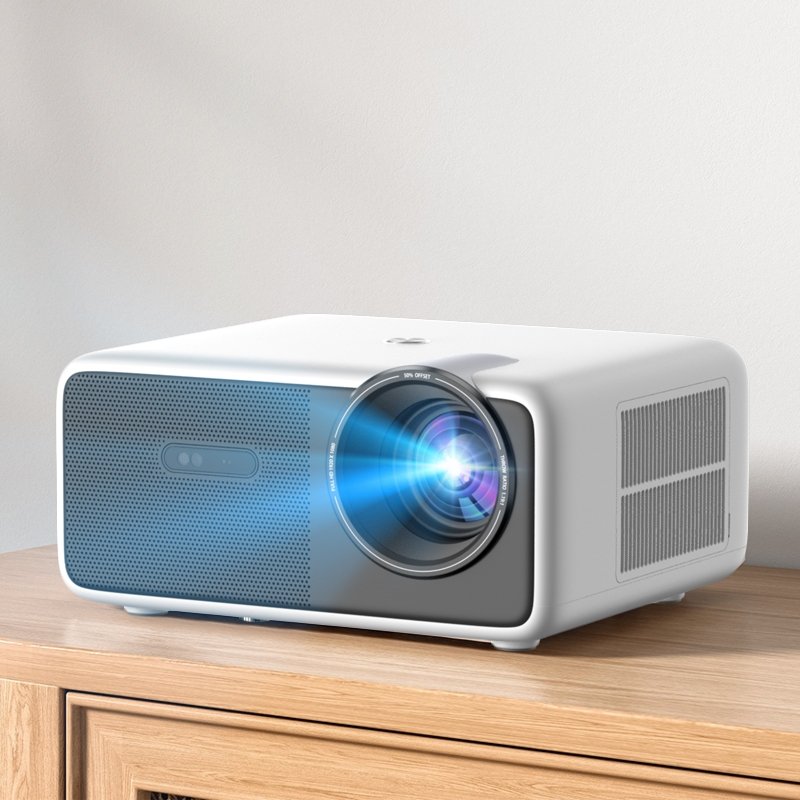
- Brightness (Lumens)High brightness projectors typically have over 3000 lumens. This means they can provide clear images even in bright environments. For example, during daytime meetings, classes, or family gatherings, you don’t need blackout curtains for a good viewing experience.
- Color PerformanceThese projectors not only provide brightness but also maintain good color accuracy and contrast. Advanced image processing ensures accurate colors, making images look real and vivid. High brightness projectors usually use DLP or LCD technology to enhance color performance.
- Long LifespanModern high brightness projectors use efficient light sources like LED or laser, which last longer and cost less to maintain. These light sources increase brightness and extend the projector’s lifespan, often up to 20,000 hours.
Key Parameters and Performance to Consider
- Contrast RatioContrast ratio is a key indicator of image quality. A high contrast ratio offers deeper blacks and brighter whites, enhancing image depth and detail. In bright environments, a high contrast ratio is crucial for clear and readable images.
- ResolutionChoosing the right resolution is also important. For home theaters or offices, 1080p resolution is a basic requirement, while 4K resolution offers finer image quality. For business presentations or education, 720p may suffice, but higher resolutions always provide a better visual experience.
- Projection Distance and Screen SizeThe match between projection distance and screen size affects the image quality. Short-throw and ultra-short-throw projectors can project large screens from short distances, perfect for limited spaces. Check the projector’s throw ratio to ensure it meets your space requirements.
- Connectivity and CompatibilityEnsure the projector has enough input and output ports, supporting HDMI, USB, VGA, and other interfaces to connect various devices. Some high brightness projectors also support wireless connections and smart features like smartphone mirroring and built-in apps, adding convenience.
Recommended High Brightness Projectors
- Brightness: 650 ANSI lumens
- Resolution: 1920 x 1080, 4K support
- Contrast Ratio: 4000:1
- Features: Suitable for home and business use, high color brightness, low maintenance costs.
- Brightness: 600 ANSI lumens
- Resolution: 1920 x 1080, 4K support
- Contrast Ratio: 4000:1
- Features: Designed for home entertainment, excellent color performance.
- Brightness: 700 ANSI lumens
- Resolution: 1920 x 1080, 4K support
- Contrast Ratio: 4000:1
- Features: High brightness, lifespan up to 50,000 hours.
How to Optimize Your High Brightness Projector Experience
- Installation and CalibrationProper installation is key to getting the best image quality. Ensure the projector’s distance and angle to the screen are correct to avoid distortion or blurriness. Use keystone correction and lens shift features to adjust the image.
- Controlling Ambient LightWhile high brightness projectors perform well in bright environments, controlling ambient light can still enhance the viewing experience. For example, use curtains to block light or choose ambient light-rejecting screens to reduce interference.
- Regular MaintenanceKeep the projector clean, especially the filters and lens, and ensure good ventilation. Regularly check the light source’s lifespan and replace it timely to maintain image quality.
- Use High-Quality SourcesChoose high-definition or 4K sources like Blu-ray players or HD streaming devices to ensure image clarity and detail.
Conclusion
High brightness projectors offer excellent visual experiences in bright environments, suitable for home, education, and business. By understanding their features and benefits and considering key parameters, you can choose the best projector for your needs and enjoy the stunning big-screen experience. We hope this guide helps you make an informed decision when purchasing a high brightness projector.
1. Projector Installation and Calibration
1.1 Choosing the Position and Angle
Projection Distance: Calculate the proper distance based on the projector’s throw ratio. The throw ratio is usually detailed in the product specifications. Adjust according to room size.
Installation Location: The projector can be ceiling-mounted, placed on a table, or on a stand. Ensure the projector is parallel to the screen to avoid image distortion. Ceiling mounting saves space and ensures stability.
1.2 Calibration Tips
Keystone Correction: Use the projector’s keystone correction function to adjust the image shape to a standard rectangle. Most projectors offer vertical and horizontal correction. Some high-end models, like Rigal’s sealed projector series, also support four-corner correction.
Focus Adjustment: Manually or electrically adjust the projector’s focus to ensure a clear image with no blurred edges. Some high-end models, like Rigal’s P7 projector series, support auto-focus, freeing up your hands.
2. Choosing the Right Projection Screen or Wall
2.1 Types of Projection Screens
White Screens vs. Gray Screens:
White Screens: Suitable for rooms with good light control, offering high brightness and natural color performance. Recommended for home theaters.
Gray Screens: Suitable for rooms with more ambient light, enhancing contrast and black levels for better detail in dark areas. Ideal for living rooms where light control is challenging.
Fixed Screens vs. Roll-Up Screens:
Fixed Screens: Stable and ideal for dedicated home theater rooms. High flatness provides the best image quality.
Roll-Up Screens: Can be retracted and extended, suitable for multifunctional rooms or limited spaces. Flexible installation and easy storage.
2.2 Gain Parameter
Gain Value: Reflects the screen’s reflectivity. A gain of 1.0 means no gain, with light reflected evenly. High-gain screens are suitable for brighter rooms but have a narrower viewing angle. Low-gain screens are ideal for dark rooms, offering wide viewing angles and uniform brightness.
2.3 Projection Wall Selection and Treatment
Flatness: The wall should be as flat as possible without noticeable bumps or dents. Use putty and sandpaper to ensure clarity.
Paint Selection: Use specialized projection paint, which has high reflectivity and uniform light scattering, enhancing brightness and contrast.
3. Pairing the Right Sound System
3.1 Built-In vs. External Speakers
Built-In Speakers: Suitable for simple use, providing basic sound quality. Most built-in speakers lack high-quality sound, which may not meet high standards.
External Speakers: Recommended to pair with high-quality external sound systems, like home theater speakers or soundbars. External speakers offer clearer and richer sound, significantly enhancing the viewing experience.
3.2 Choosing a Sound System
5.1 or 7.1 Surround Sound: These systems offer multi-channel surround sound, suitable for large rooms and home theaters. A 5.1 system includes five speakers and a subwoofer, while a 7.1 system adds two more surround speakers.
Soundbar: Easy to install with good sound quality, suitable for medium to small rooms. Some advanced soundbars support Dolby Atmos and other advanced sound formats.
4. Lighting Control and Environment Setup
4.1 Managing Lighting
Blackout Curtains: Use blackout curtains during daytime viewing to reduce ambient light interference and enhance contrast. Blackout curtains effectively block external light, creating a more suitable viewing environment.
Ambient Lighting: Avoid strong light directly hitting the screen. Use adjustable ambient lighting to create a suitable viewing atmosphere. Choose soft ambient lighting to protect your eyes and increase viewing comfort.
4.2 Managing Environment Sound
Sound Absorption: Place sound-absorbing materials like carpets, curtains, and acoustic panels to reduce echo and reflection, improving sound quality. This is especially important in rooms with hard floors and walls.
Noise Control: Minimize external noise interference by closing doors and windows or using soundproof materials. Control projector fan noise by choosing low-noise models or using appropriate soundproofing measures.
By optimizing these aspects, you can significantly enhance your projector viewing experience, enjoying clearer, more impactful visuals and superior sound quality. Whether creating a home theater or improving business meetings and educational training, these tips will provide a better experience.