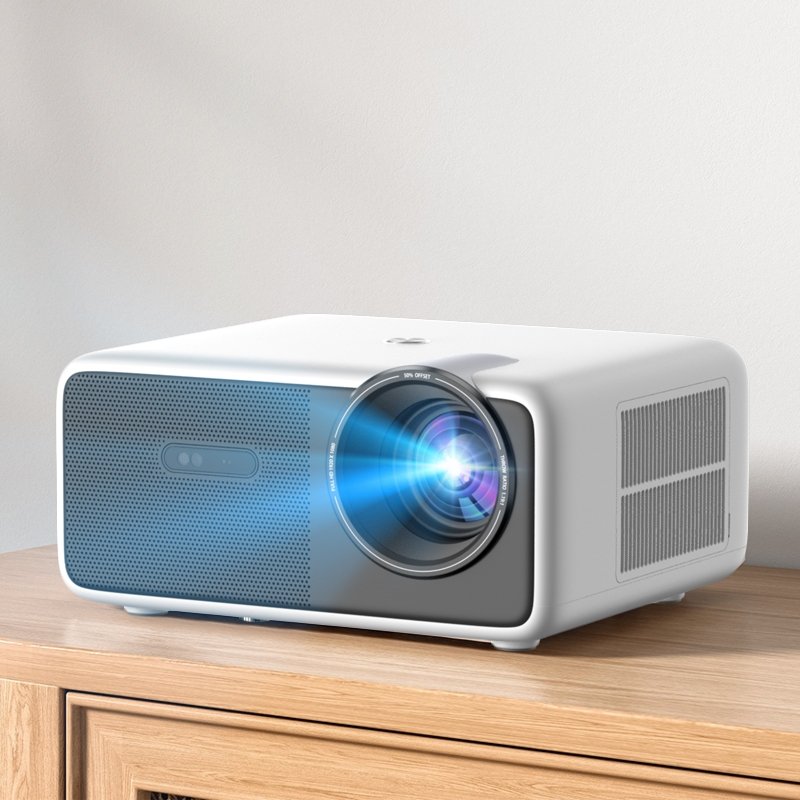
Using projectors is becoming increasingly common, not just for home entertainment, but also for business meetings and educational training. To maximize the effectiveness of your projector, focus on screen selection, projector installation, sound system pairing, and environment settings. Here’s a detailed guide to help you optimize your projector viewing experience.
1. Projector Installation and Calibration
1.1 Choosing the Position and Angle
Projection Distance: Calculate the proper distance based on the projector’s throw ratio. The throw ratio is usually detailed in the product specifications. Adjust according to room size.
Installation Location: The projector can be ceiling-mounted, placed on a table, or on a stand. Ensure the projector is parallel to the screen to avoid image distortion. Ceiling mounting saves space and ensures stability.
1.2 Calibration Tips
Keystone Correction: Use the projector’s keystone correction function to adjust the image shape to a standard rectangle. Most projectors offer vertical and horizontal correction. Some high-end models, like Rigal’s sealed projector series, also support four-corner correction.
Focus Adjustment: Manually or electrically adjust the projector’s focus to ensure a clear image with no blurred edges. Some high-end models, like Rigal’s P7 projector series, support auto-focus, freeing up your hands.
2. Choosing the Right Projection Screen or Wall
2.1 Types of Projection Screens
White Screens vs. Gray Screens:
White Screens: Suitable for rooms with good light control, offering high brightness and natural color performance. Recommended for home theaters.
Gray Screens: Suitable for rooms with more ambient light, enhancing contrast and black levels for better detail in dark areas. Ideal for living rooms where light control is challenging.
Fixed Screens vs. Roll-Up Screens:
Fixed Screens: Stable and ideal for dedicated home theater rooms. High flatness provides the best image quality.
Roll-Up Screens: Can be retracted and extended, suitable for multifunctional rooms or limited spaces. Flexible installation and easy storage.
2.2 Gain Parameter
Gain Value: Reflects the screen’s reflectivity. A gain of 1.0 means no gain, with light reflected evenly. High-gain screens are suitable for brighter rooms but have a narrower viewing angle. Low-gain screens are ideal for dark rooms, offering wide viewing angles and uniform brightness.
2.3 Projection Wall Selection and Treatment
Flatness: The wall should be as flat as possible without noticeable bumps or dents. Use putty and sandpaper to ensure clarity.
Paint Selection: Use specialized projection paint, which has high reflectivity and uniform light scattering, enhancing brightness and contrast.
3. Pairing the Right Sound System
3.1 Built-In vs. External Speakers
Built-In Speakers: Suitable for simple use, providing basic sound quality. Most built-in speakers lack high-quality sound, which may not meet high standards.
External Speakers: Recommended to pair with high-quality external sound systems, like home theater speakers or soundbars. External speakers offer clearer and richer sound, significantly enhancing the viewing experience.
3.2 Choosing a Sound System
5.1 or 7.1 Surround Sound: These systems offer multi-channel surround sound, suitable for large rooms and home theaters. A 5.1 system includes five speakers and a subwoofer, while a 7.1 system adds two more surround speakers.
Soundbar: Easy to install with good sound quality, suitable for medium to small rooms. Some advanced soundbars support Dolby Atmos and other advanced sound formats.
4. Lighting Control and Environment Setup
4.1 Managing Lighting
Blackout Curtains: Use blackout curtains during daytime viewing to reduce ambient light interference and enhance contrast. Blackout curtains effectively block external light, creating a more suitable viewing environment.
Ambient Lighting: Avoid strong light directly hitting the screen. Use adjustable ambient lighting to create a suitable viewing atmosphere. Choose soft ambient lighting to protect your eyes and increase viewing comfort.
4.2 Managing Environment Sound
Sound Absorption: Place sound-absorbing materials like carpets, curtains, and acoustic panels to reduce echo and reflection, improving sound quality. This is especially important in rooms with hard floors and walls.
Noise Control: Minimize external noise interference by closing doors and windows or using soundproof materials. Control projector fan noise by choosing low-noise models or using appropriate soundproofing measures.
By optimizing these aspects, you can significantly enhance your projector viewing experience, enjoying clearer, more impactful visuals and superior sound quality. Whether creating a home theater or improving business meetings and educational training, these tips will provide a better experience.


